I decided to update one of my old projects, the password strength checker. This version includes updated visuals, and is built with React.
Here's what I included in this project:
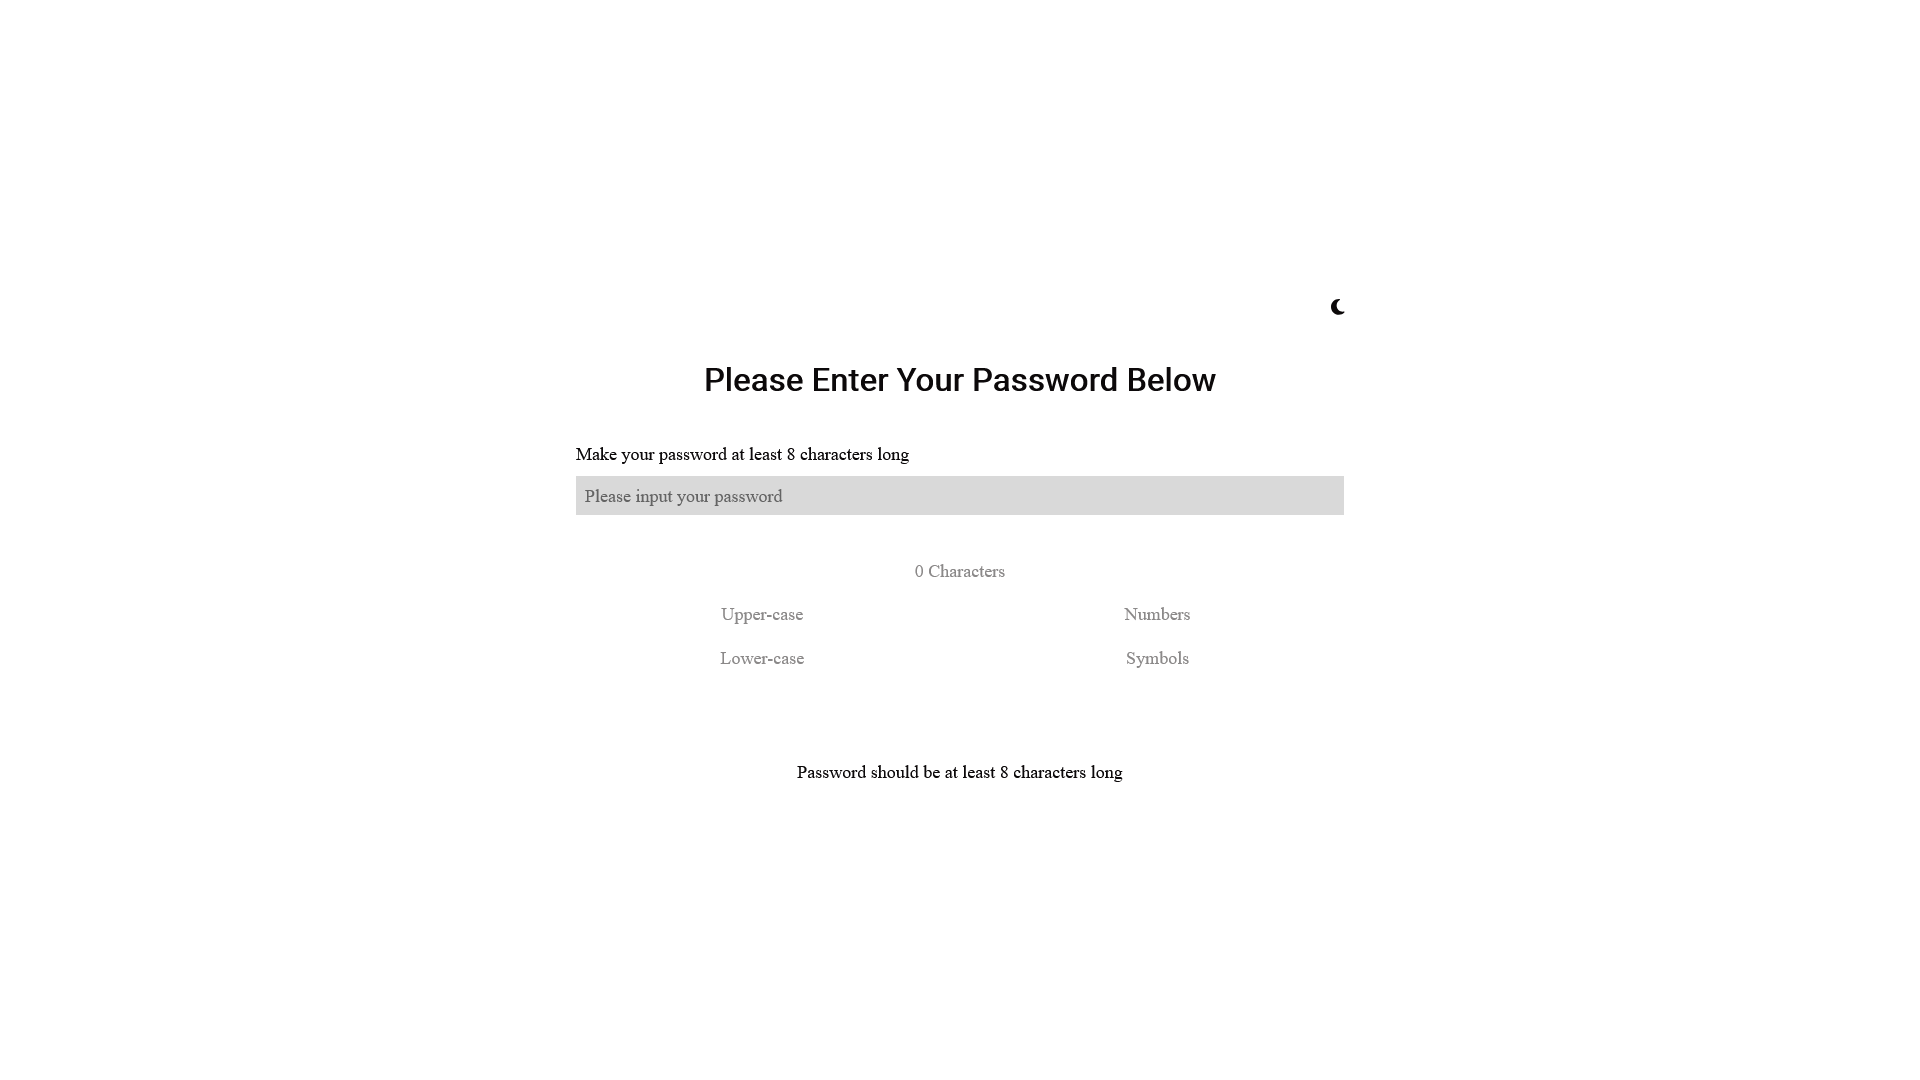
Character Length Checks - It first checks if the password is at least 8 characters long. No points are awarded if it is under 8 characters. If it is, then a point is awarded. It then checks if the password is 12 characters long. If so, then a bonus point is awarded.
Lower-Case Checks - It checks for lower-case characters. If there are, then a point is awarded.
Upper-Case Checks - It checks for upper-case characters. If there are, then a point is awarded.
Number Checks - It checks for numbers. If there are, then a point is awarded.
Symbol Checks - It checks for special characters, such as symbols. If there are, then a point is awarded.
Visuals for the Checks - The app includes a list that shows the checks. When they are reached, the colour of the check changes to green.
Animated Bar - As the points are awarded, a bar will grow, changing from red to green.
Advice - As each point is awarded, the app will move on to the next piece of advice.
Light/Dark Mode - Just for fun, and because the last password strength checker app I built included this, a small button to the top-right of the app will change the colour scheme between light and dark modes.
Tech I Used:
Figma - To design the app before I commit to coding it.
React - This allowed me to handle the necessary code to create a fully functioning password strength checker.
Process
I decided to update one of my older projects. The previous password strength checker, as with many of my old projects, was entirely focused on the function of the app, leaving the visuals somewhat disappointing. This time, I decided to re-make this project from scratch, using React this time. Before I began coding it, I started by designing the app in Figma. It didn't take many iterations before I came up with a design that I liked. It is a functional design, but one I feel is still pleasant. I wanted the display to be dynamic, updating live as the password was typed. To do that, I needed to build this with React.
Coding the display of the app was easy. Since it was the only thing on the page, I figured using absolute positioning was the simplest way to get it centred. The challenging part was getting the State to work and update live. Since React handles State asynchronously, extra steps were needed in order for everything to display correctly. For instance, I found trying to add points quite tricky at first. This was because the State would be updated before the checks were made, leaving the points one step behind the rest of the app. By creating a separate variable to test for each point, then assigning that variable to the state after the checks were completed, I was able to get the State to update properly, and in time. This also went for every time I handled State in this app.
With the points and checks handled, I would then go about displaying them in the app. The list of checks you see just below the input field would change from grey to green once they were fulfilled. I put a 1 second transition, just to make it feel a little more polished. After that was handled, I could move on to the bar. For a while, I just had a placeholder gradient, going from red to green. This was to show how the bar would look as it grew. Now, I could actually have it change dynamically, depending on the number of points the user had acquired. I created 6 different classes, all starting with an underscore, followed by a number. This meant I could tie the current class of the bar to whatever score the user had, instead of creating a large number of "if" checks. As the points were assigned, the bar would begin growing, starting as a red colour, then transitioning to yellow, and eventually green, all while it grew to its full length. The next task was to create the advice feature. This one was quite simple. I just created another function that would take all the checks that had been made and return the most important piece of advice. Instead of over-doing it here, I decided on one piece of advice to be displayed at a time.
The last feature I wanted was a light/dark mode. By using State, I was able to achieve this quite easily. After all that was done, I just needed to upload this app somewhere. I decided on github pages, as it was a free option.
Now that you've read all this, you may want to check it out. Go ahead and give it a try. If you have any questions, feel free to get in touch.


